In this project, I will be showing you how to set up a LAMP Web Server on a Ubuntu 20.04 VPS so that we can have our own website!
What is meant by LAMP Stack?
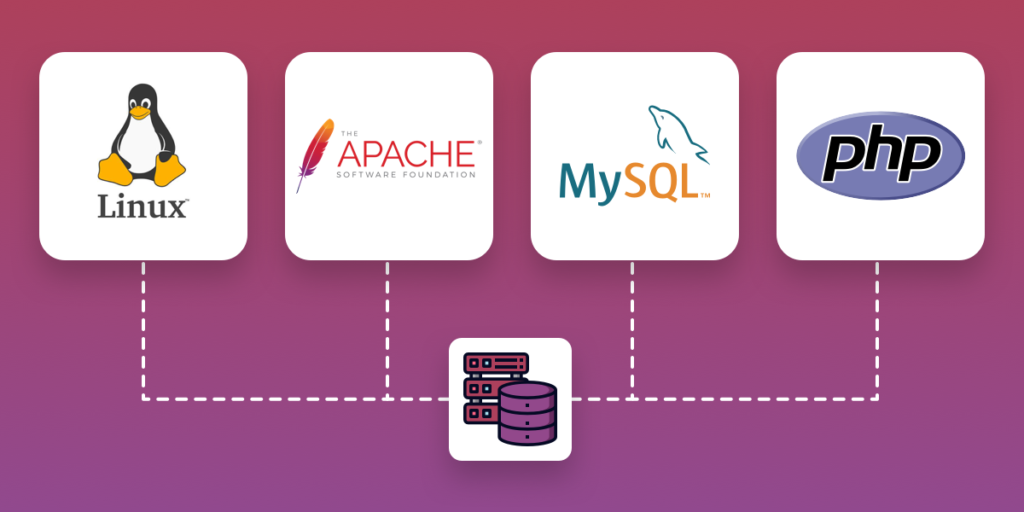
The answer is actually in the name itself. A LAMP stack is basically a bundle of different software technologies that people use to build websites and even web applications. LAMP is an acronym for the operating system, Linux; the web server, Apache; the database server, MySQL; and the programming language, PHP.
This task is performed a lot by cloud engineers or even system administrators. Before thinking about switching to the cloud you must first have your initial workspace to do so and that’s when a LAMP server comes in to provide the ability to host your websites or applications in the cloud.
Now to start off there are a few prerequisites you must have to get this project done, and they are the following:
- Linux Machine (in my case i’m using a VPS)
- Linux Bash
That’s all eventually more things come into play here but we will leave that for another day.
I’m currently using a Windows machine but we can access our VPS here using SSH. SSH is used to communicate with a Linux machine and receive access to a Linux Bash terminal without physically or remotely being connected to the machine itself.
After doing so we now have a root SSH client connected to our VPS here.
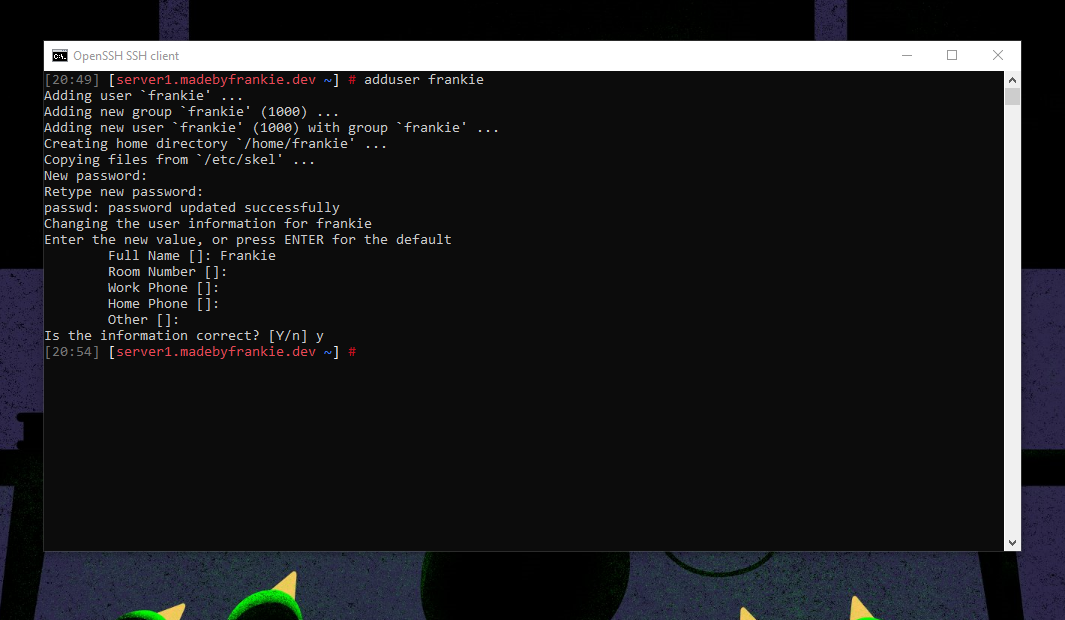
The first thing we would wanna do, especially if you just installed a fresh Ubuntu distro as I did will be to add a user to your machine. For good practices is best to create a new user apart from the root user on our machine reason behind it is root is able to make very destructive changes, even by accident.
We go ahead and type adduser {yourname} to start this process, then proceed to fill out the required settings for the user like the password and so on. I usually leave the extra information as default.
When your new user has been created we can close out this connection to log out of the root user and initiate the SSH connection with our newly created user, and we are good to proceed.
As I mentioned earlier this machine is running on a fresh Ubuntu installation, another good practice is to update our packages here by using the following command:
sudo apt update
sudo apt upgrade
After this has been completed we can proceed to install the LAMP software as mentioned at the start. We have the Linux machine which takes care of the L, now A is next here which is Apache, to install apache run the following:
sudo apt install apache2Once that has been processed apache2 service should have started automatically. To double check this is true we can run a status check on the service using systemctl
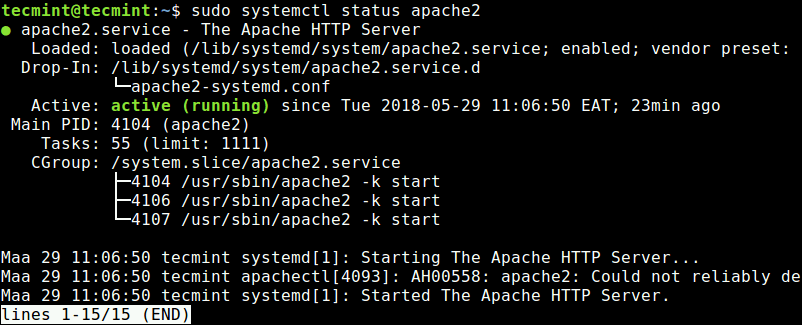
sudo systemctl status apache2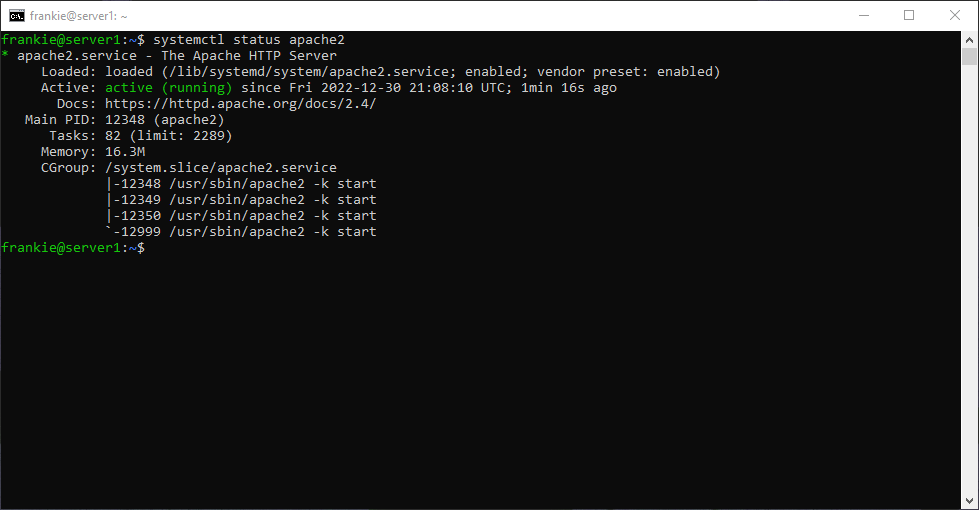
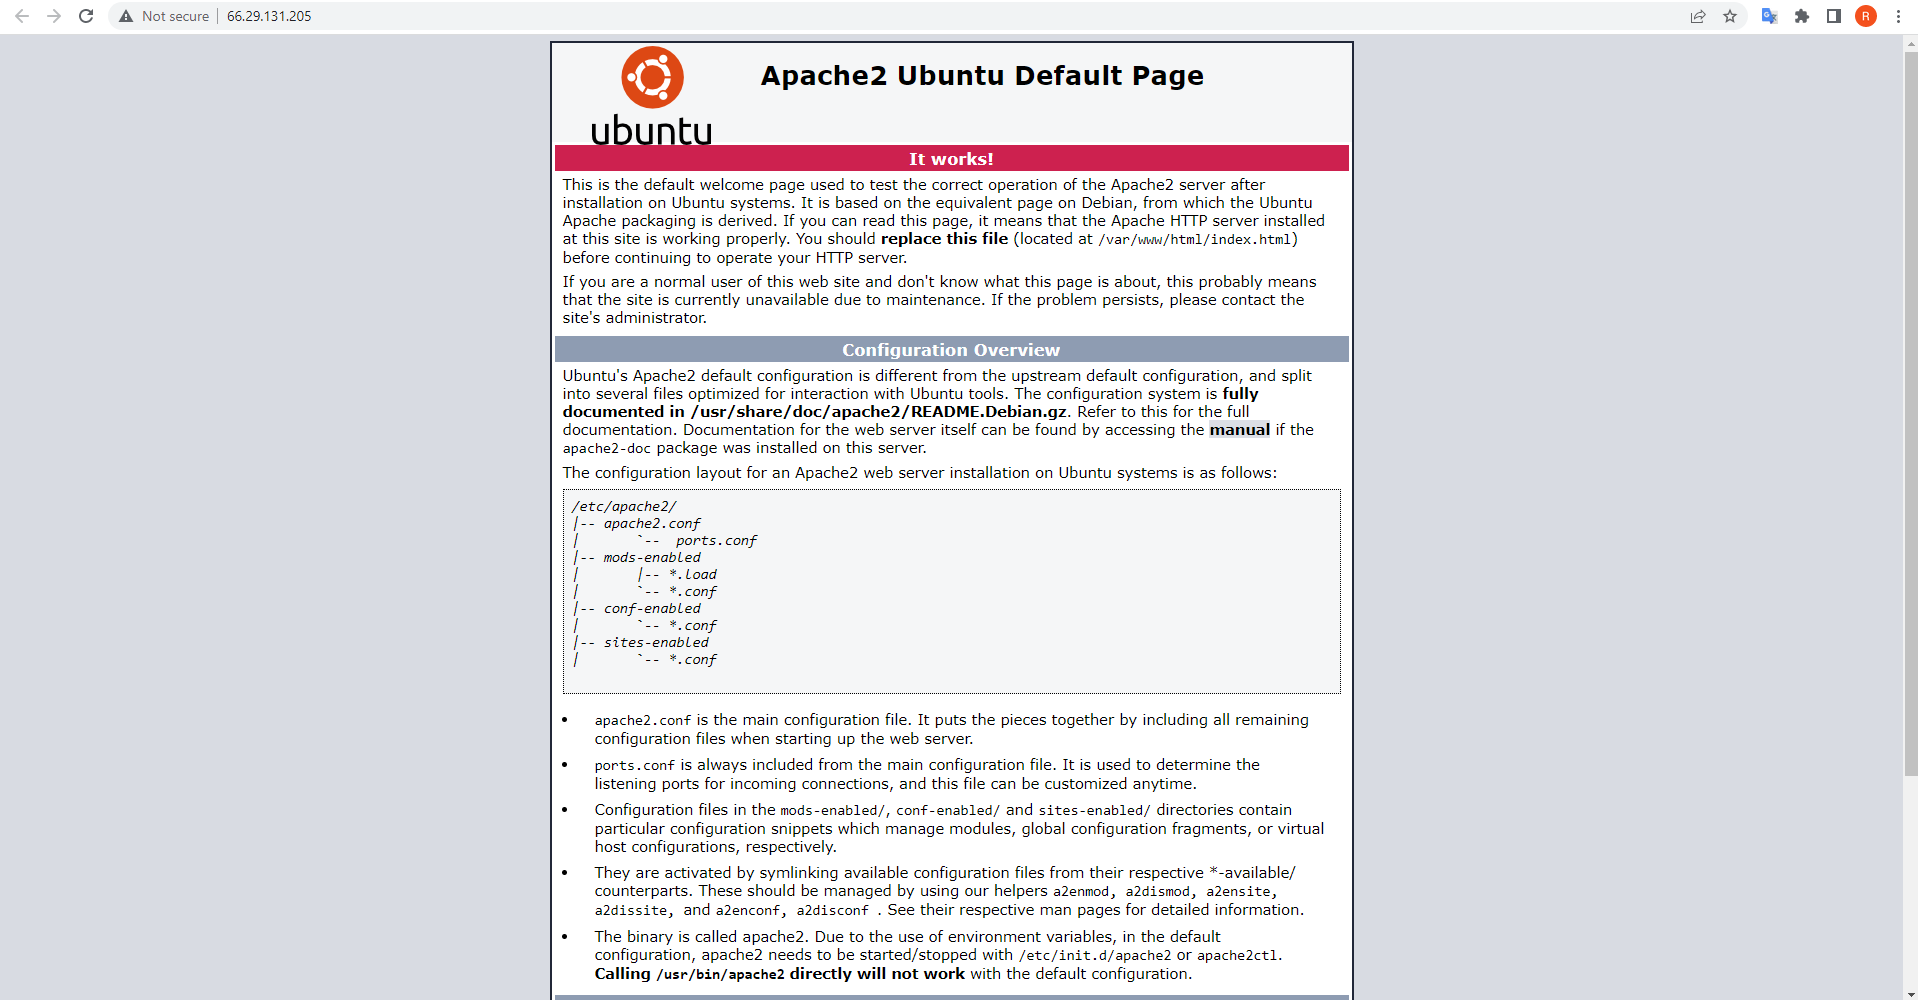
It should display active (running) with green text as shown above. Now that our apache2 service is up and running we can open up our server IP in our browser and we should be able to see the Apache2 default page.
Pretty simple right? Of course, there is also a deeper configuration for our apache2 server here but as this is not the case with this post we will leave this for another day as well.
Now that we have Apache2 installed and running on our machine. Next on we have MySQL.
What’s a good web server without a database system to be able to store and manage data for our site correct? MySQL takes care of that, let’s get that installed as well.
sudo apt install mysql-serverWe can verify our SQL server is up and running by once again running systemctl service status check
systemctl status mysqlIt is also recommended that once MySQL installation has been performed run a security script called mysql_secure_installation which will remove some insecure default settings and lock down free access to our database system. Let’s go ahead and do so:
After this has been completed we are good to go with our SQL server. For last we have PHP.
sudo apt install php libapache2-mod-php php-mysqlThat’s it, folks. We have successfully set up our own LAMP server, we can use this environment to host numerous different things blogs, your own website, and applications you name it. Hopefully, this has been helpful to you the reader.